Navigation
The navigation bar along the top of the screen provides access to the main features of the site. This is arranged in three sections:
- The site name, clicking on this will bring you back to the front page
- The navigation buttons, these take you to different parts of the site as described below
- The search bar, this allows you to quickly search for content on the site
On larger computer screens the navigation bar is expanded when you first come to a page and then contracts as you scroll down. On smaller, mobile screens, the navigation bar contracts to show just the search bar and a MENU button. Clicking on the MENU button will show you a list of the navigation buttons.
Navigation Buttons
There are six navigation buttons that are shown to all users. These are, from left to right:

- Chosen For You: A page of selected material from the archives, articles by Woodcraft groups explaining their use of the archive in projects, and the session plans from the original Woodcraft Folk Heritage website.
- About: An introduction to the archive and the website.
- Help: Help with using the website.
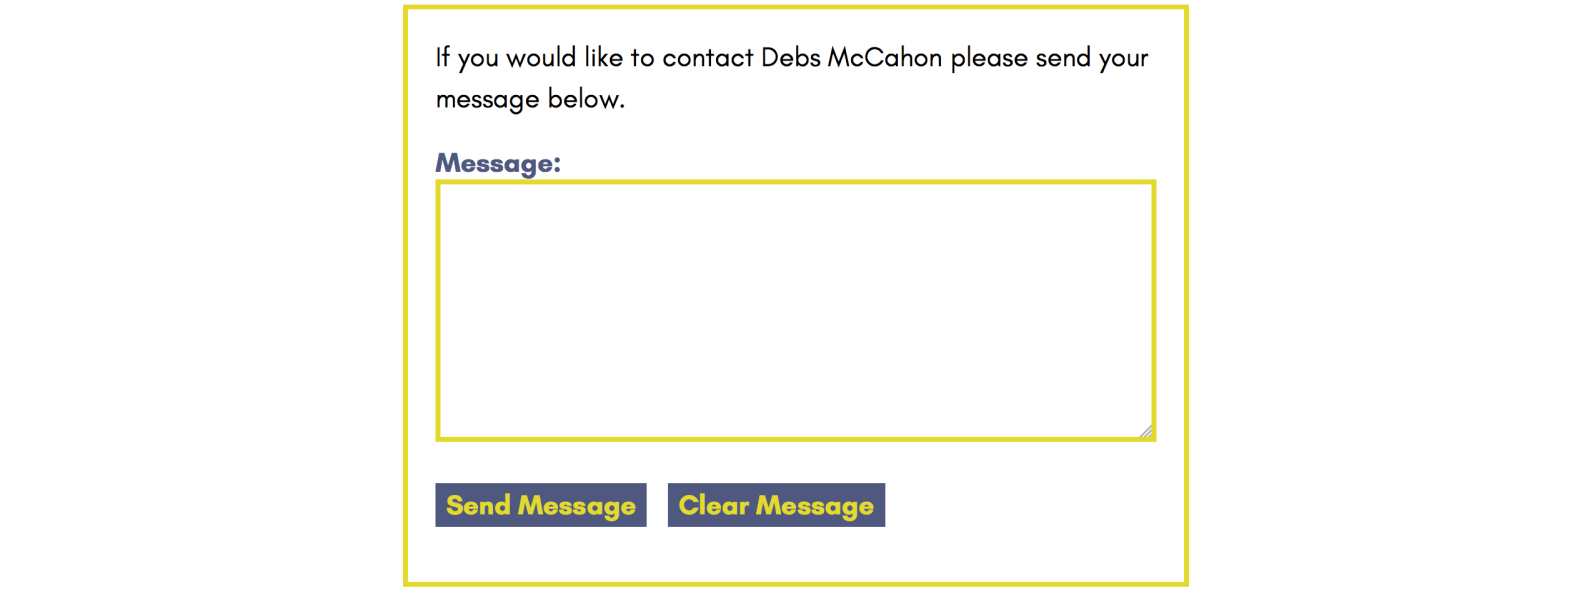
- Contact: An online form to contact the Woodcraft Folk Heritage website administrators.
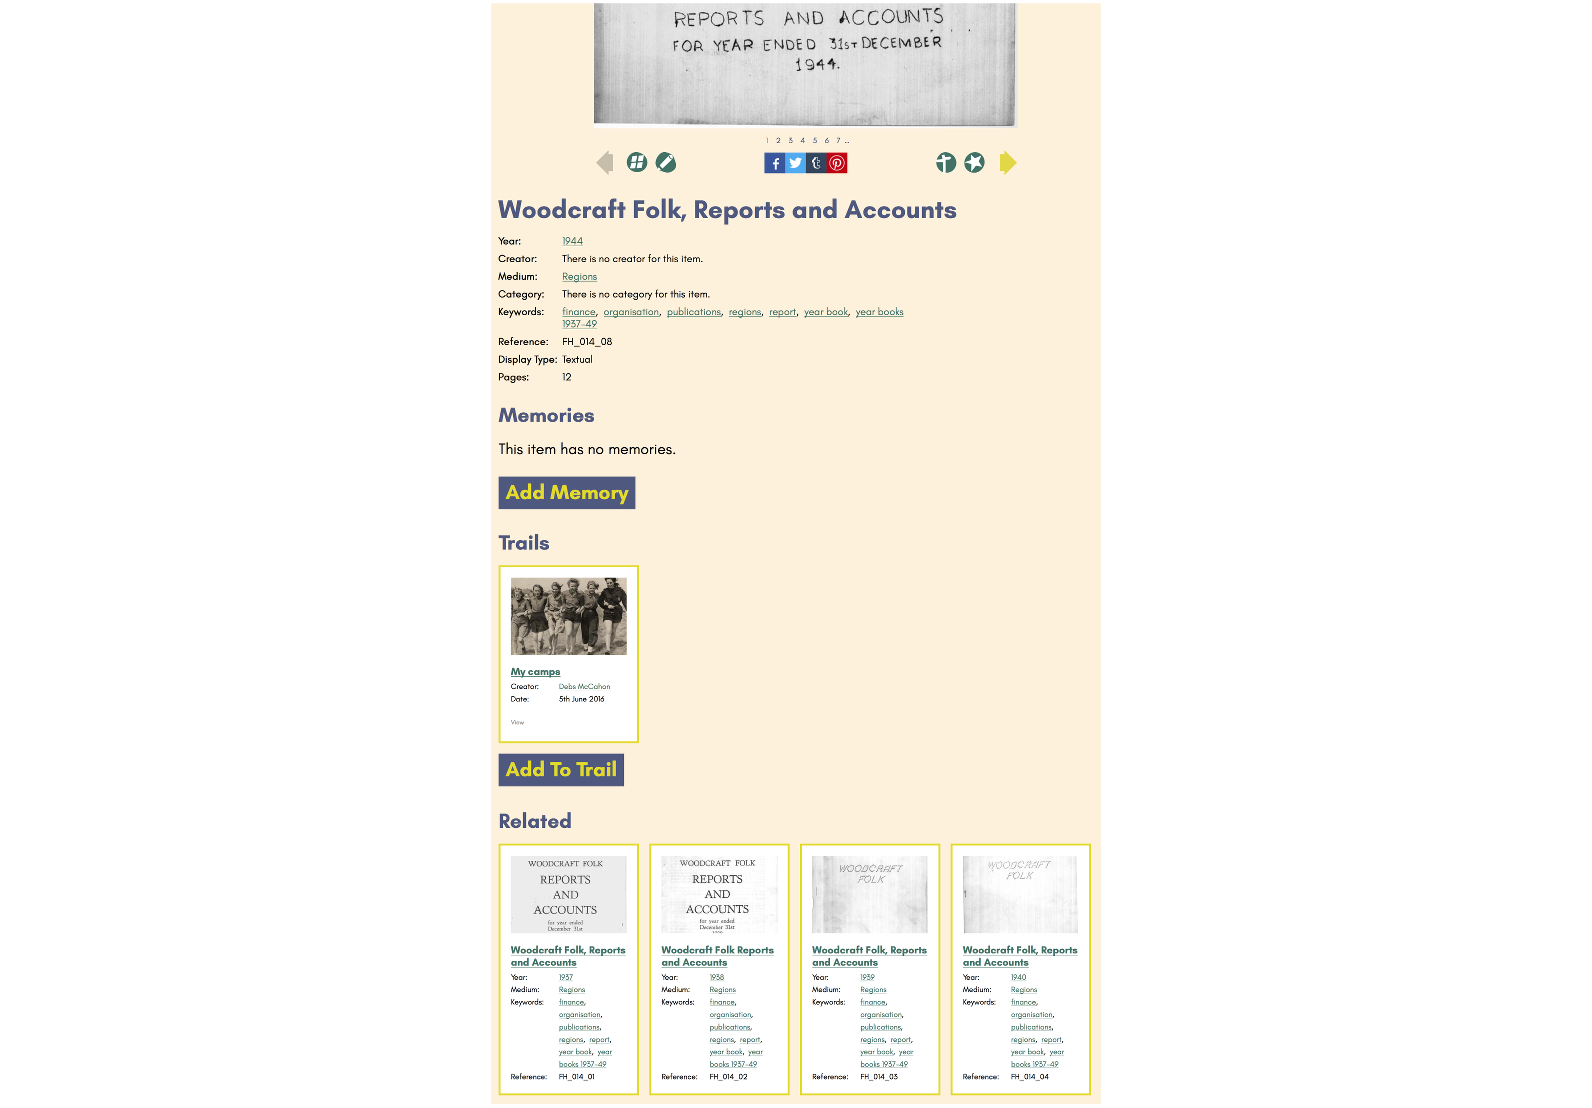
- Trails: A selection of trails through the archive created by Woodcraft Folk members. These are explained in more detail later in this guide.
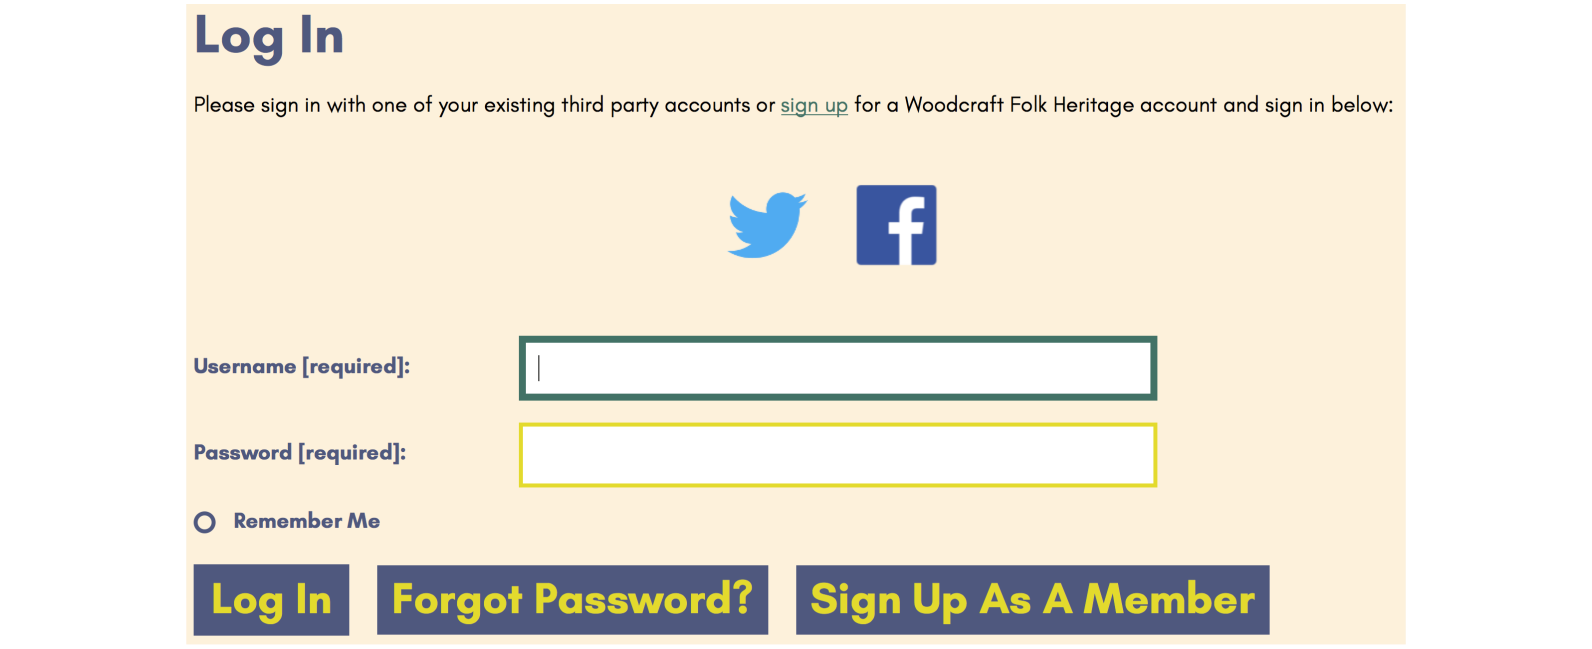
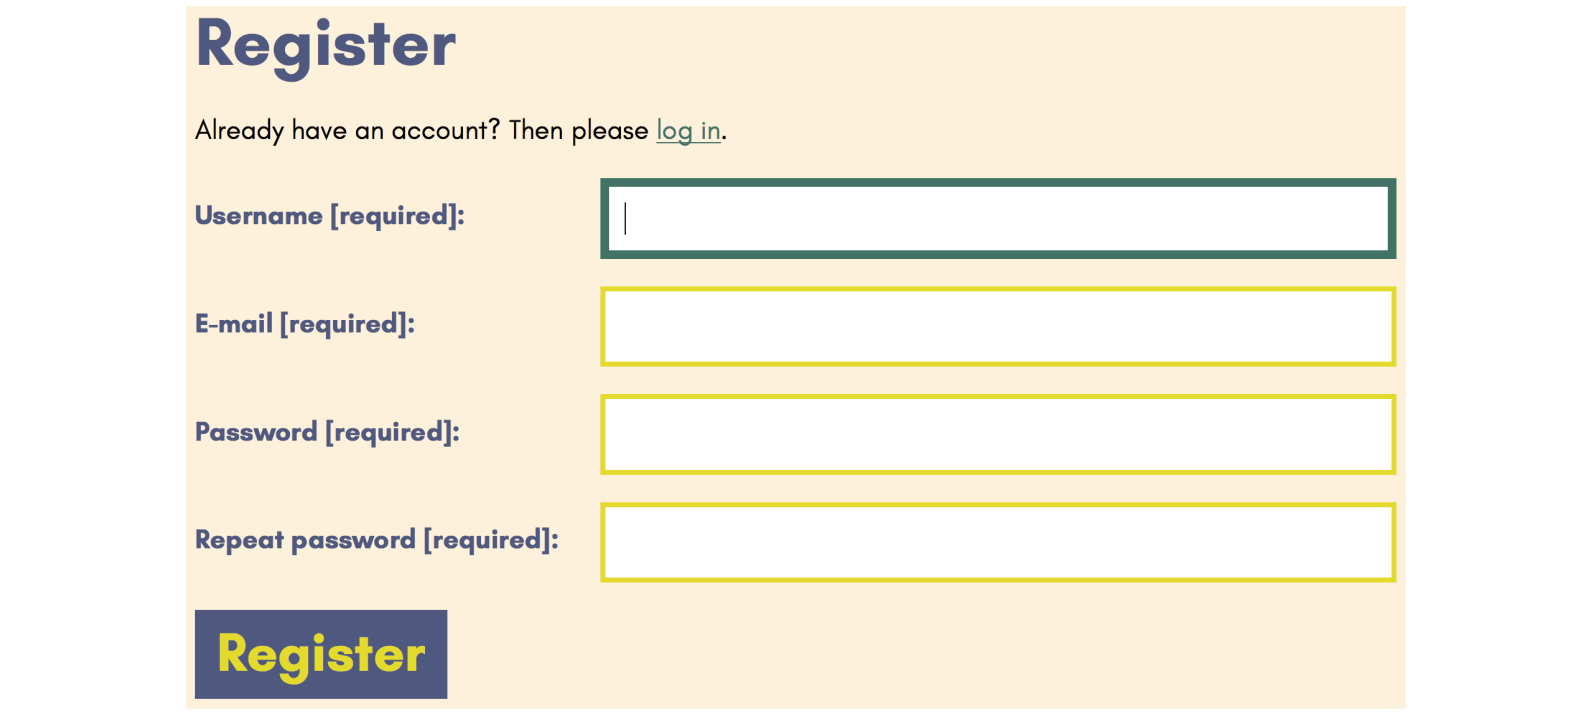
- Login: Login or register for an account on the Woodcraft Folk Heritage website.
If you are a registered member of the site and are logged in you will see seven buttons in the navigation bar. These are, from left to right:

- Chosen For You: A page of selected material from the archives, articles by Woodcraft groups explaining their use of the archive in projects, and the session plans from the original Woodcraft Folk Heritage website.
- About: An introduction to the archive and the website.
- Help: Help with using the website.
- Contact: An online form to contact the Woodcraft Folk Heritage website administrators.
- Trails: Your own trails and a selection of trails through the archive created by Woodcraft Folk members. These are explained in more detail later in this guide.
- Profile Page: Your personal profile page and dashboard, explained in more detail later in this guide.
- Logout: Log out from your account.
Front Page
The front page of the website presents a short documentary film about the Woodcraft Folk with actress Michelle Collins who was herself part of the Woodcraft Folk. The film features short extracts from different films that are part of the archive itself.
Below this are buttons for our LUCKY POT, which will take you to a random item in the archive and is a great way of finding new and surprising things, and to GET INVOLVED and find out how to help with the archive site.
Below this are a selection of more random picks from the archive to give you an idea of what the site contains and encourage you to dive in and explore.